Published · By Frank DeLozier, Owner & Master Fence Builder
From the free estimate to the final walkthrough, knowing the stages of a fence install keeps the whole project smooth.
A typical fence installation runs in six stages: a free on-site estimate, scheduling and any permits or HOA approval, site prep and old-fence removal, setting the posts in concrete, building the fence and hanging gates, and a final cleanup and walkthrough. Most residential fences are finished in one to three days.
Step 1: The Free On-Site Estimate
Everything starts with an on-site estimate. We come to your property, measure the fence line, and walk through your material, height, and gate options so the quote reflects your actual yard rather than a rough phone guess. You get a written, no-obligation estimate with a clear price.
This is also the time to raise anything specific, an HOA requirement, a slope, a tricky corner, a gate for a trailer, so it is built into the plan and the price from the start. A good estimate visit answers your questions and leaves you with a number you can trust.
Step 2: Scheduling, Permits, and HOA Approval
Once you approve the estimate, we schedule the install and handle the paperwork. If your city requires a fence permit or your HOA needs drawings and specifications, we take care of that documentation so your fence is approved and compliant before we build.
We also arrange for underground utilities to be located (the 811 call) before any digging, which is both a legal step and a safety one. Lead time depends on the season and the size of the job, and we keep you posted on the schedule.
Step 3: Site Preparation and Old-Fence Removal
On install day, the crew starts by marking the fence line and preparing the site. If you have an existing fence, we tear it out and haul it off, including pulling the old concrete-set posts, so you never have to deal with the debris.
We clear the fence line of brush and obstacles as needed and confirm the utility locates are in place. A clean, well-marked site is what lets the actual building go quickly and accurately.
Step 4: Setting the Posts
Posts come first and they matter most. We dig the holes, set each post plumb, and lock it in concrete, to the proper depth, with gate and corner posts set deeper. This is the foundation that decides whether the fence stands straight for decades.
Because concrete needs time to cure, there may be a pause between setting the posts and building on them, especially on larger jobs. It is not a delay so much as a necessary step; building on posts before the concrete has set is how a fence ends up out of plumb.
Step 5: Building the Fence
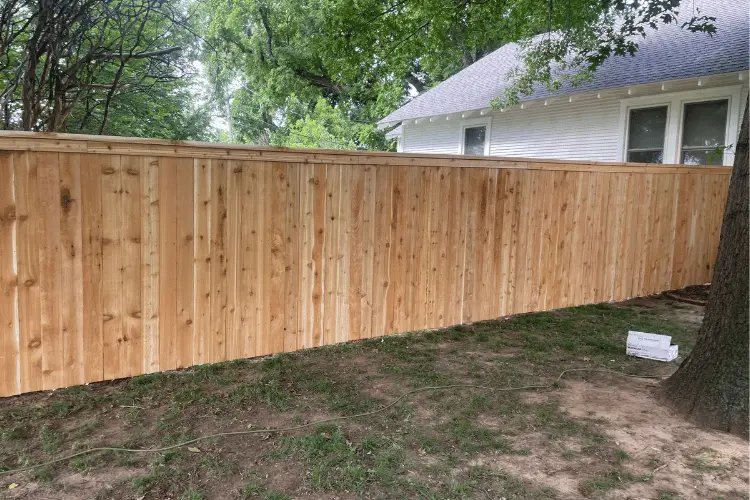
With the posts set, we build the fence itself. For wood, that means attaching the rails and fastening the pickets on site, custom to your yard; for chain link, running the top rail and stretching the fabric tight; for iron, powder coated galvanized steel, or vinyl, hanging the panels between the posts.
Building on site, rather than dropping in pre-made sections, is what lets the fence follow your ground cleanly and end up straight and even. It is the stage where the fence takes shape and starts to look like the finished product.
Step 6: Gates and Hardware
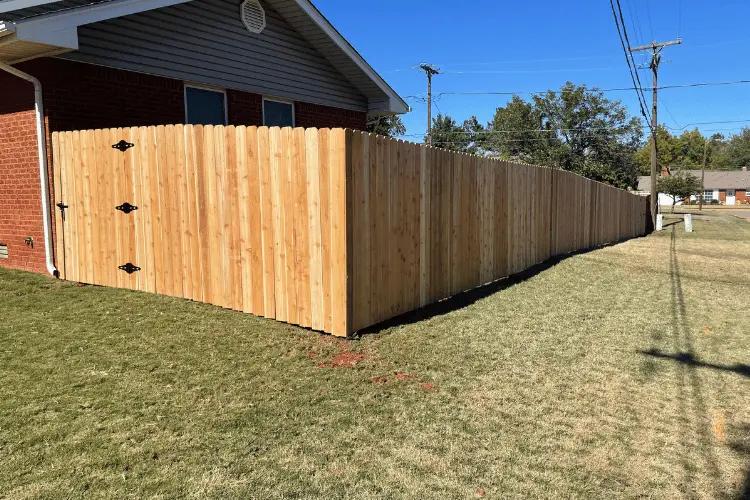
Gates are built square and braced, then hung on heavy-duty hinges sized for their weight, with solid latches installed and aligned so they catch cleanly. Wide and double gates get the extra bracing and hardware they need so they do not sag.
Because gates are the part of a fence you use every day, we take the time to make sure each one swings freely and latches smoothly before we consider the job done.
Step 7: Cleanup and Final Walkthrough
A professional install ends with the site left clean: scrap hauled off, nails and debris picked up, and your yard put back in order. We do not consider a fence finished until the area looks better than we found it.
Then we walk the finished fence with you, confirm everything is right, and go over the one-year workmanship warranty and any care tips, like when to stain new cedar. If anything is not perfect, this is the time we make it right.
How Long Does Fence Installation Take?
Most residential fences are completed in one to three days, depending on the size of the yard, the number of gates, the terrain, and the weather. Tear-out of an old fence is included in that timeline.
The main variable is concrete cure time and weather. A large job, or one interrupted by Oklahoma rain, can span a bit longer, but we build the schedule around doing it right rather than rushing the posts.
What You Need to Do to Prepare
You can help the install go smoothly with a little prep. Clear the fence line of anything movable, patio furniture, planters, toys, and trim back plants that crowd the boundary. If you have a sprinkler system, marking the heads and lines near the fence route helps us avoid them.
Plan for pets and kids to be kept away from the work area on install day, and make sure the crew can access the backyard, an unlocked gate or someone to open it. These small steps let the crew focus on building rather than clearing.
Do You Need to Be Home?
You do not necessarily need to be home for the whole install, as long as the crew has access to the work area and a way to reach you with any questions. Many customers are at work while the fence goes up.
It is a good idea to be available at the start, to confirm the layout and gate placement, and at the end for the walkthrough. Beyond that, we keep you informed and can work while you go about your day.
Weather and Scheduling in Oklahoma
Oklahoma weather is the wild card in any install schedule. Rain can delay digging and pouring concrete, and we would rather set posts in good conditions than rush them in the mud. When weather moves a date, we communicate and reschedule promptly.
The upside of building here is that our mild winters keep the ground workable much of the year, so there is rarely a long stretch when fences cannot go in. We plan around the forecast to get your fence done right.
Can You Install a Fence in Winter?
In most of the country, hard winters shut fence installation down for months. Oklahoma is more forgiving: our winters are relatively mild and the ground stays workable much of the season, so fences can and do go in year-round here, with only the occasional cold snap or wet stretch causing a pause.
There can even be an upside to an off-season install. Spring is peak season, right after storm season damages fences, so schedules fill up; late fall and winter are often easier to book. As long as the ground is not frozen or soaked, we can dig, set posts, and pour concrete, planning around the forecast to get your fence in.
What Happens After Installation
After the fence is up, it is yours to enjoy, backed by our one-year workmanship warranty. For a new cedar fence, we recommend letting the wood cure for several weeks before staining or sealing, or letting it weather naturally if you prefer a gray patina.
Beyond that, fences ask for little: occasional cleaning, keeping vegetation off the line, and a look after big storms. If anything ever needs attention, we are a phone call away.
Ready to Get Started?
The whole process begins with a free on-site estimate. We come to your property anywhere in the OKC metro, measure the job, walk through your options, and give you a written quote with no pressure. Most homeowners are surprised how quick and straightforward the whole thing is once it is underway.
Call us at (405) 767-4828 or request a free quote, and we will take it from there, handling everything through the final walkthrough.
Good to Know
Frequently Asked Questions
Most residential fences are completed in one to three days, depending on the size of the yard, the number of gates, the terrain, and the weather. Tear-out of an old fence is included, and the schedule allows time for the post concrete to cure.
Not for the whole time, as long as the crew has access to the work area and can reach you with questions. It helps to be available at the start to confirm the layout and gate placement, and at the end for the final walkthrough.
Yes. Tearing out and hauling off your old fence, including pulling the old concrete-set posts, is part of the installation, so you never have to deal with the debris. It is included in the project timeline and estimate.
Clear the fence line of movable items and trim back crowding plants, mark any sprinkler heads and lines near the route, keep pets and kids away from the work area on install day, and make sure the crew can access the yard.
Keep Reading
Explore Our Fence Services